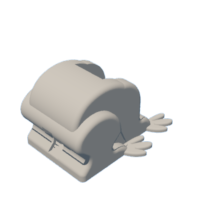
Introduction: A 3D Printed Simple Mechanical Frog 2.0.


By "popular request", I modified the head, neck, tongue and tongue arm of my first frog model to provide a longer tongue extension.
If you 3D printed the original frog and wish to modify it to the 2.0 frog, you will only need to 3D print "Head.stl", "Neck.stl", "Tongue Arm.stl", and "Tongue.stl" to create the 2.0 frog.
Inspired by JK Brickworks Lego Frog, designed using Autodesk Fusion 360, sliced using Ultimaker Cura 4.8.0, and 3D printed in PLA on an Ultimaker 3+ Extended and on Ultimaker S5s.
Step 1: 3D Printing and Assembly.
I 3D printed all parts at .1mm layer height with 20% infill and no supports
I 3D printed two of each eye part (Eye, Black.stl, Eye, White.stl) and one each of the remaining parts.
Prior to assembly, I test fitted and trimmed, filed, drilled, sanded, etc. all parts as necessary for smooth movement of moving surfaces, and tight fit for non moving surfaces. Depending on your slicer, printer, printer settings and the colors you chose, more or less trimming, filing, drilling and/or sanding may be required to successfully recreate this model. I carefully filed all edges that contacted the build plate to make absolutely certain that all build plate "ooze" is removed and that all edges are smooth using small jewelers files and plenty of patience.
After part preparation, I assembled the frog as shown in my original frog video.
And that is how I 3D printed and assembled "A 3D Printed Simple Mechanical Frog 2.0". I hope you enjoyed it!