

Introduction: A New Marblevator.


This simple Marblevator uses a cam synchronized stair assembly to transport a ball bearing around an oval track.
As usual, I probably forgot a file or two or who knows what else, so if you have any questions, please do not hesitate to ask as I do make plenty of mistakes.
Designed using Autodesk Fusion 360, sliced using Ultimaker Cura 4.12.1, and 3D printed in PLA on Ultimaker S5s.
Supplies
- Thick cyanoacrylate glue.
Step 1: Parts.
I acquired the following part:
- 8mm ball bearing.
Unless otherwise noted, I 3D printed the following parts at .15mm layer height and 15% infill:
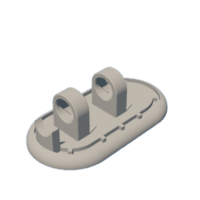
- One "Base.stl".
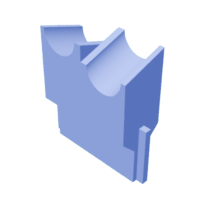
- Five "Cam.stl".
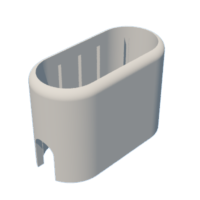
- One "Cover.stl".
- One "Handle, Axle.stl".
- One "Knob, Handle, Axle.stl".
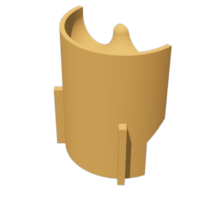
- Three "Track, Center.stl".
- Two "Track, End.stl", .06mm layer height.
This is a fairly high precision print and assembly. Prior to assembly, test fit and trim, file, sand, etc. all parts as necessary for smooth movement of moving surfaces, and tight fit for non moving surfaces. Depending on you printer, your printer settings and the colors you chose, more or less trimming, filing and/or sanding may be required. Carefully file all edges that contacted the build plate to make absolutely certain that all build plate "ooze" is removed and that all edges are smooth. I used small jewelers files and plenty of patience to perform this step.
The model uses threaded assembly, so I used a M4 by 0.7 tap and die to clean the threads.


Step 2: Assembly.
To assemble the model, I performed the steps as seen in the video and as listed below:
- Threaded and glued "Knob, Handle, Axle.stl" into "Handle, Axle.stl".
- Assembled the cam shaft by inserting each "Cam.stl" into "Base.stl", then pressing the handle / axle into the cam, noting that each cam is rotated 180° from the previous. When completed, the cam shaft must rotate with ease.
- Assembled the cover by inserting the two "Track, End.stl" and three "Track, Center.stl" into "Cover.stl", making certain that each track raised and lowered independently with ease.
- Snapped the base assembly onto the cover assembly.
And that is how I 3D printed and assembled "A New Marblevator".
I hope you enjoyed it!


