

Introduction: Parametric Print in Place Hinge


When we need a small, light to medium duty hinge for our various hobbies, we 3D print a hinge using a parametric hinge model I designed with Autodesk Fusion 360.
The 3D printed hinges are great for doll houses, model railroading, dioramas, etc. The various hinges appearing in the cover photograph were printed in Ultimaker White PLA, Ultimaker Pearl White PLA, Ultimaker Blue PLA, Ultimaker Red PLA, and Ultimaker Tough PLA at .06mm through .15mm layer heights. As reported by Cura 3.5.1, the smallest hinge required .08m (1g) of filament at a cost of 0.04 USD to print.
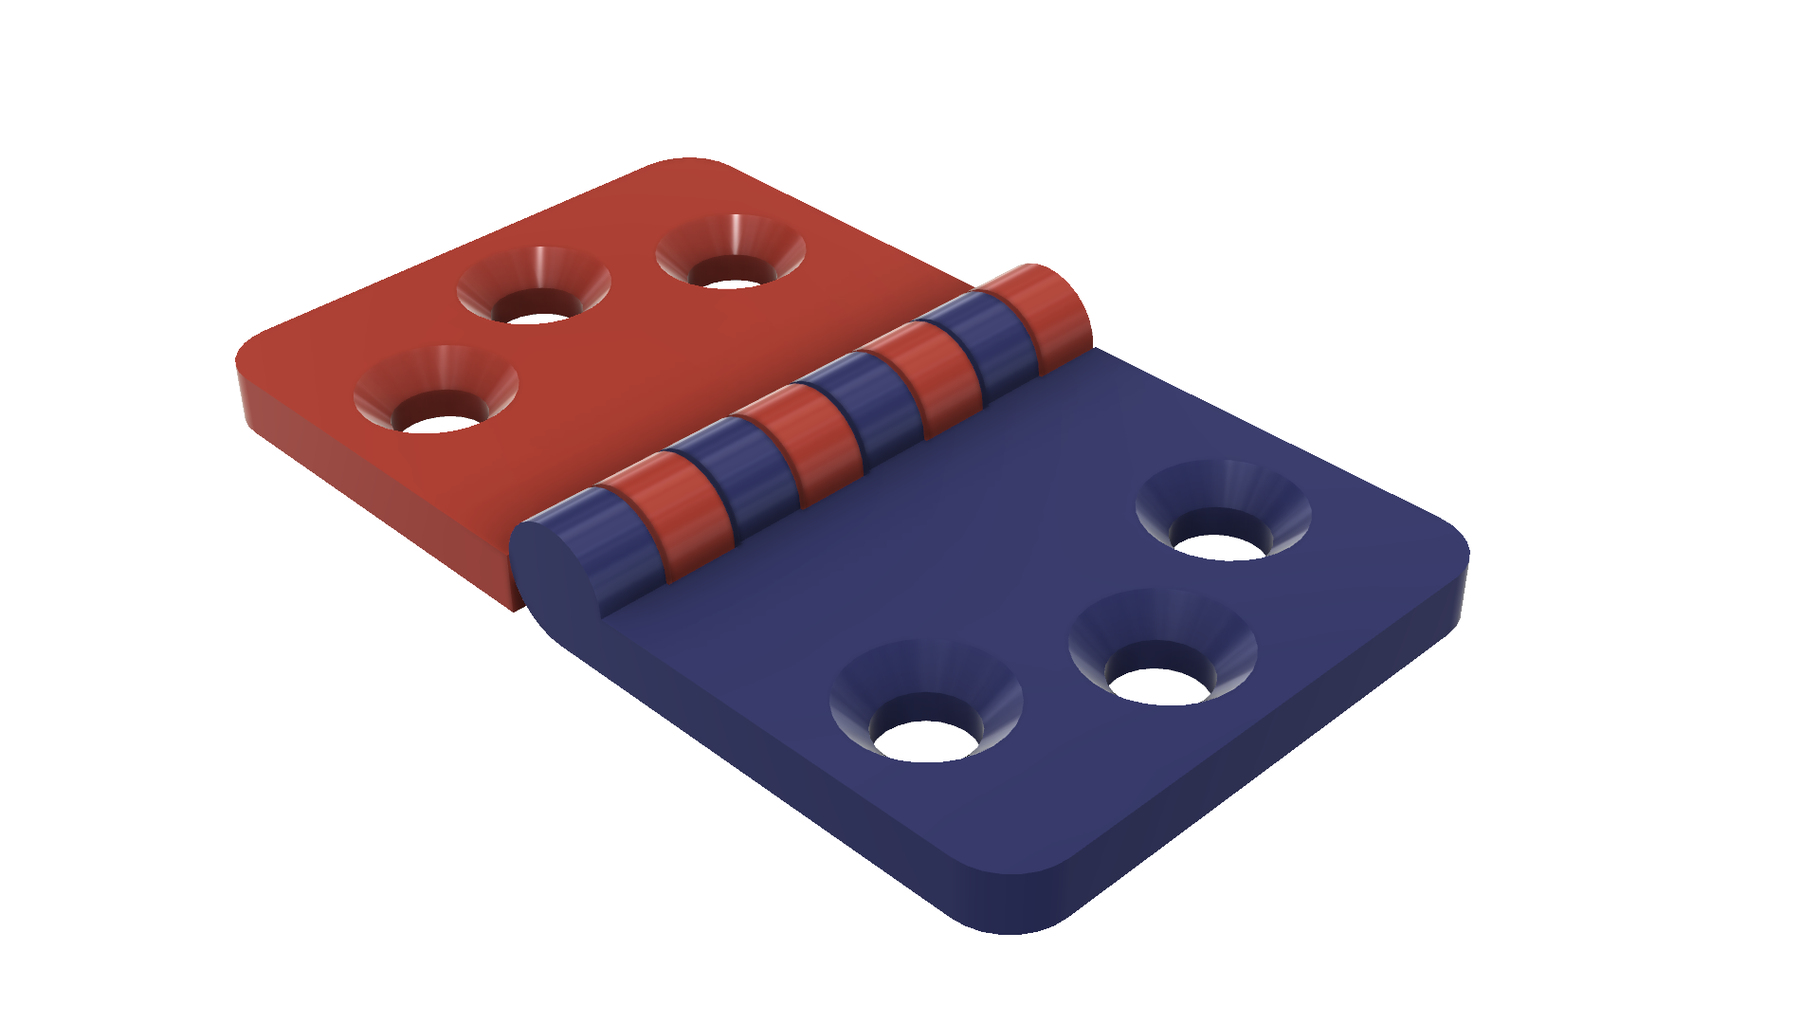
The hinge model incorporates seven ball and socket hinge joints (see the "normal" and "cross section" images of the sample hinge) in order to support "print in place" 3D printing (with no supports) thus the hinge is printed fully assembled. The hinge model provides inputs for the hinge height, hinge width, hinge joint diameter, hinge joint tolerance, hinge joint shoulder and a few other parameters. Simply enter the hinge parameters needed, and Autodesk Fusion 360 rebuilds the hinge model ready for 3D printing.
As was my parametric hinged container model, this model is not without flaws. No limits have been imposed on the dimension values so entering "reasonable" values is up to the user. If "non-reasonable" values are entered, errors may or may not appear in the timeline of the model to warn that the hinge, with the specified dimensions, is not printable, so examine the hinge carefully prior to printing.
As usual, I probably forgot a file or two or who knows what else, so if you have any questions, please do not hesitate to point them out as I do make mistakes in plenty.
Designed using Autodesk Fusion 360, sliced using Cura 3.5.1, and printed in PLA and Tough PLA on an Ultimaker 2+ Extended and an Ultimaker 3 Extended.
Step 1: Files
I've included the hinge model in the Autodesk Fusion 360 file "Parametric Hinge.f3d". With this file loaded in Autodesk Fusion 360, navigate to the "Modify, Change parameters" menu in order to alter the hinge dimensions.
The file "Hinge.stl" is a sample hinge designed for single extrusion printers and the file "Hinge.3mf" is the same sample hinge designed for dual extrusion printers, both generated by Cura 3.5.1. The files "Hinge Piece 1.stl" and "Hinge Piece 2.stl" are the sample hinge separated into two pieces for the purpose of loading and merging in the slicer of your choice.
When using the model, I adjust the hinge parameters to be multiples of the layer height I will be using to print the hinge. For example for a small hinge printed at .06mm layer height I may set "HingeThickness" of 1.2 to provide twenty 3D printed layers for the hinge plates. If you have any questions, please feel free to comment and I'll do my best to answer them.
And that is how we print light to medium duty hinges for our hobbies.
Hope you enjoy it!


