

Introduction: MQTT on Armtronix Boards


In this instructable we would like to initially show you how you can use a Linux(Debian or Ubuntu) based system and install Mosquitto (Mqtt Broker) on it, also show you how to use Mqtt client on your Phone (Android)/ Linux Based system, sending and receiving messages via Mqtt . After getting familiar with this, we would like to show you how you can configure and connect our board with this installed Mqtt broker. Also would like to show you how you can add authentication to the Mqtt broker and some basic tips and tricks to debug . So lets get started ………..
Step 1: Installing Mqtt Broker :


There are multiple Mqtt brokers that you can install. Some known ones are as mentioned below. Some of them are cloud based services.
- HiveMQ
- MosquittoCloud
- MQTT
- Adafruit.io
We will be showing you on how to install Mosquitto on a Linux based system (Ubuntu 18.04). To do this first add Mosquitto to the ubuntu source list. Once Mosquitto is available in the Ubuntu repositories you will be able to install it with apt-get.
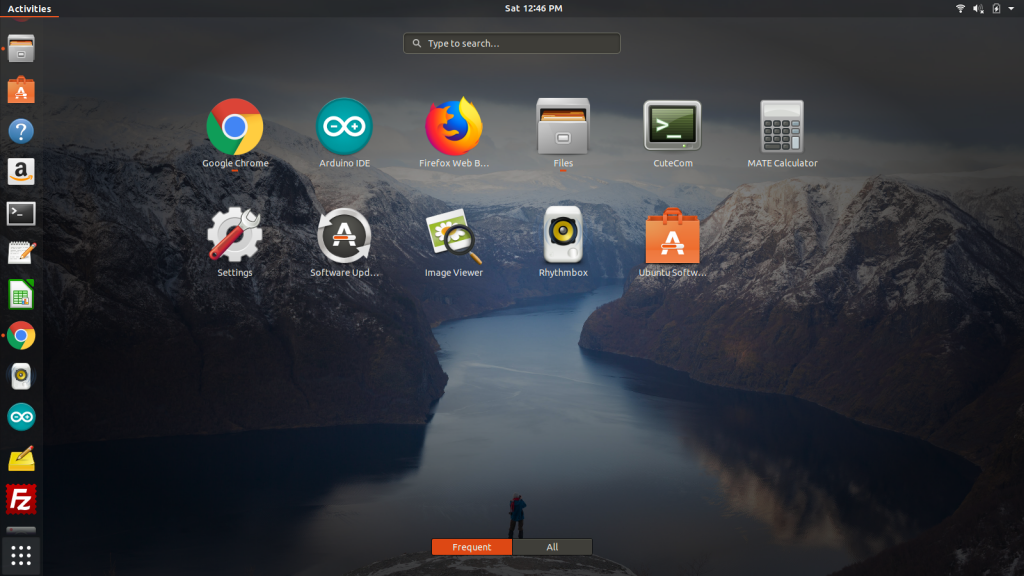
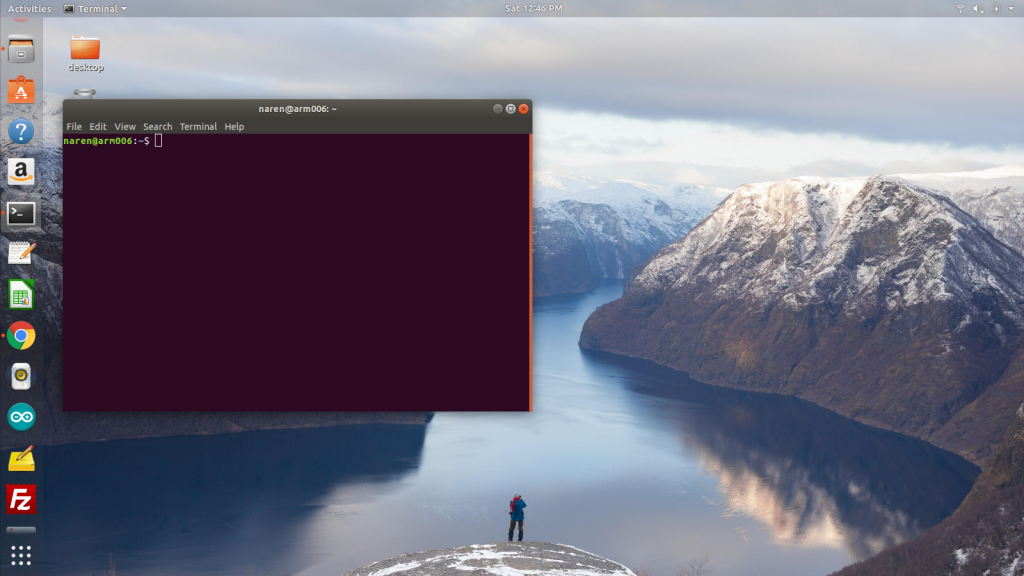
Just open a Terminal. To open a Terminal, go to Left hand bottom corner of Ubuntu Desktop, Click on Show application (Doted 3X3 grid). A Window will open. There you search for Terminal. Click on terminal you should be able to see a window open as show in the following images.
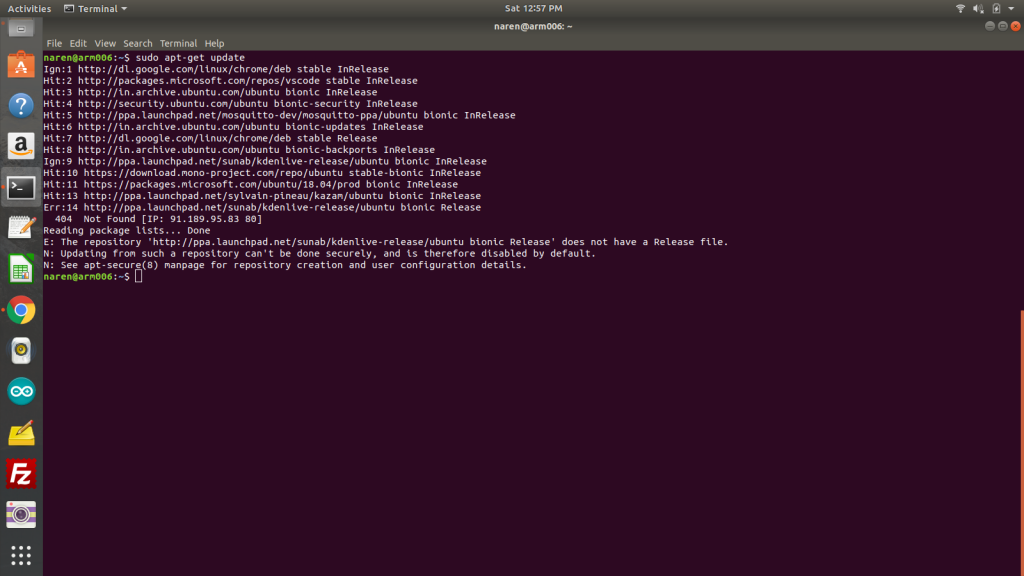
Enter the following commands after you open the Terminal
sudo apt-add-repository ppa:mosquitto-dev/mosquitto-ppa
sudo apt-get update<strong> </strong>
sudo apt-get install mosquitto
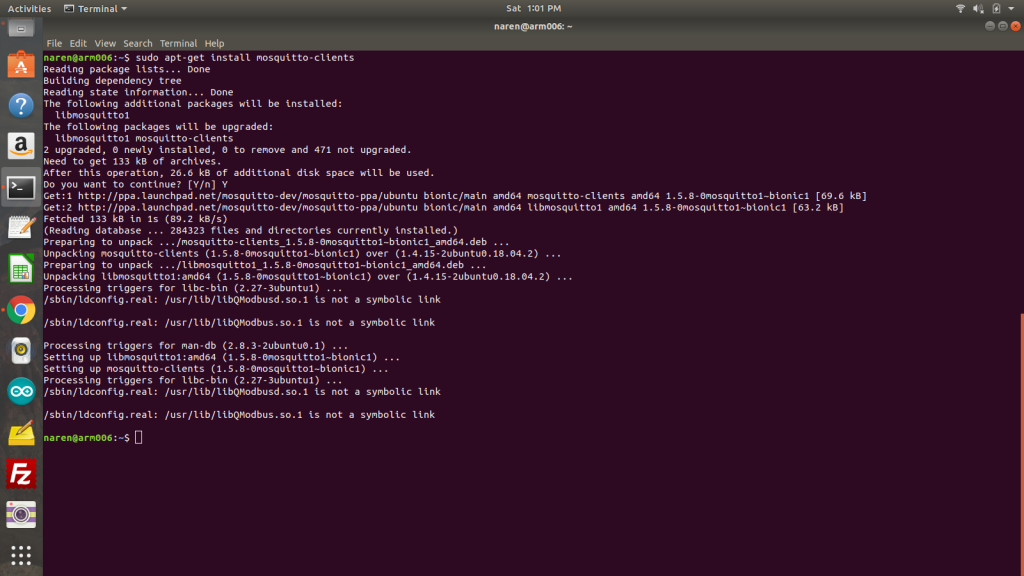
You can also install the Mqtt client. Command to do that will be
sudo apt-get install mosquitto-clients
Some images for your reference
Step 2: Testing MQTT (Mosquitto)


To test mqtt via ubuntu (same system or other system) you need to install mqtt client which was installed earlier by the command sudo apt-get install mosquitto-clients. In case you want to test it using a mobile phone(android), you can install MyMqtt app from play store.
Mqtt works on something called Topics. For the ease of understanding consider these topics as a folder on a computer hard drive. Let us treat this computer as a computer server (which in the mqtt world is an Mqtt Broker). In this server let us consider having one folders.
Folder name: /Folder_one/
Now let us consider two people from two different systems (PC/Laptop) accessing this server either to read files or to send/dump files or to do both operation.
We will name the two people/system as System X, System Y (These are Mqtt Clients in the Mqtt World).
Now, let say System X sends/Dumps some file (file name: temperature) into “/Folder_one/” folder, this in the mqtt world we can call this publishing (we send some message/payload instead of file).
Now, let say System Y wishes to get/read this file or any new file or to update in this folder, the first thing it needs is to know the folder name and path, which in our case is “/Folder_one/”. So now it will go to this folder and read/receive that file (file name: temperature). Knowing the path/Topic and checking for changes in the file/new files in the Mqtt world is subscription to that topic.
Considering the above example,
System X is publishing to “/Folder_one” and System Y has subscribes to “/Folder_one”
Also note that System X can also subscribe to “/Folder_one” and System Y can also Publish to “/Folder_one”. Like wise even the Server system(The Mqtt Broker) can publish/subscribe to “/Folder_one” by installing the Mqtt client on it like we have done currently. The other thing to remember is to publish or subscribe to a topic you will need to know the IP address of the Mqtt Broker.
First we will test it through ubuntu client which is installed on the same system as the broker is. We will open two terminal windows one of it will publish and the other will subscribe to it. For the example We will use /Folder_one as the topic. Before pub/sub to a topic you will need to find the IP address of ubuntu. To do this click on the right hand top corner of the screen, select wifi setting, from there you will be able to find the IP address of the ubuntu system (currently the broker IP). Screenshort shared for reference (Image 8).
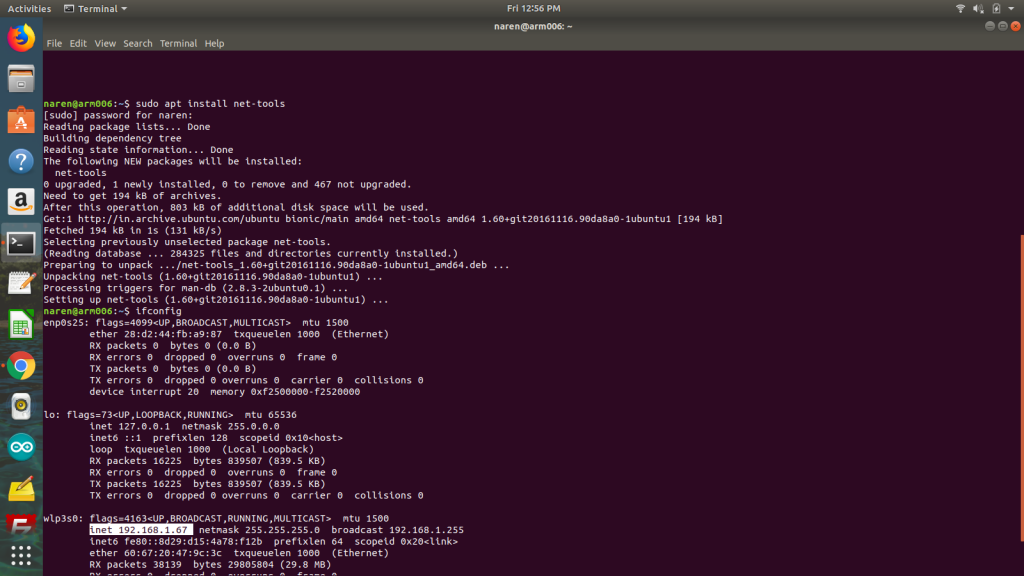
Or to find IP address of broker you can find IP address by installing net tools using the following command in the terminal
sudo apt install net-tools
Installing net-tools (Image 9). After that just type the command ipconfig you will get a list of network interface with the mac and IP address
sudo ipconfig
IP address of my system is 192.168.1.67 (Image 10)
To publish
mosquitto_pub -h 192.168.1.67 -t /Folder_one -m pub_to_folderone
Here, mosquitto_pub is the command, followed by parameter identifier element -h which is host/broker IP address (In our case 192.168.1.67), followed by -t which is topic name to publisher (In our case /Folder_one), followed by -m which means the message/payload to be sent which (In our case is pub_to_folderone).
To subscribe
mosquitto_sub -h 192.168.1.67 -t /Folder_one
Message sent by the publisher: pub_to_folderone
Example for publishing
mosquitto_pub -h 192.168.1.67 -t /Folder_one -m “hi test mqtt”
mosquitto_pub -h 192.168.1.67 -t /Folder_one -m “mqtt working”
Example for response received on subscribing to topic
mosquitto_sub -h 192.168.1.67 -t /Folder_one
Message sent by the publisher:
- pub_to_folderone
- hi test mqtt
- mqtt working
Pub Sub in two separate terminal window side by side (Image 11)
Testing Mqtt on android (my mqtt )
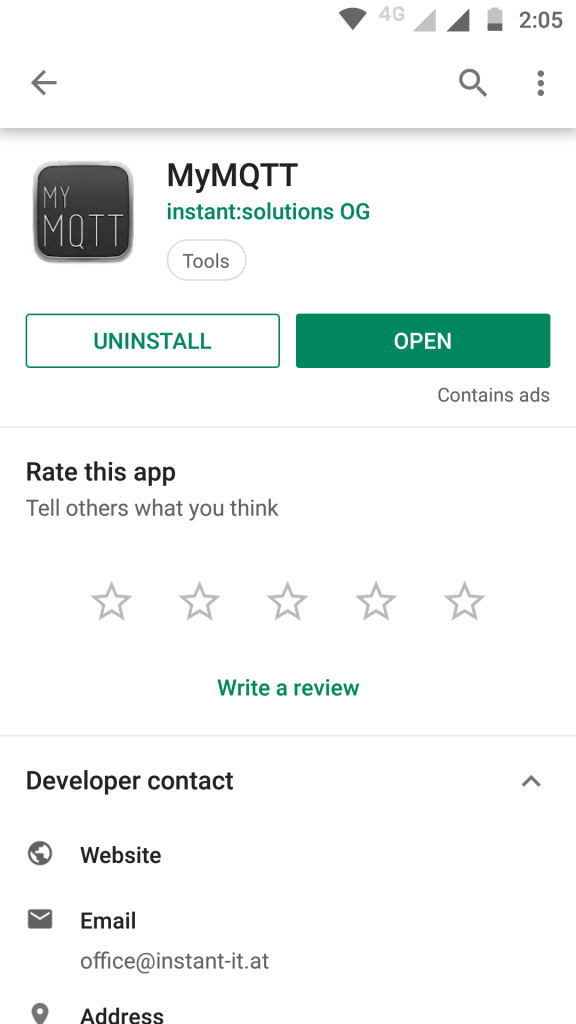
Install mymqtt app from play store on your android phone (Image 12)
Open the app and click on the left hand top corner (Image 13, Image 14).
Click on Settings and enter the broker IP address, port by default will be 1883. Currently we are not using authenticated mqtt broker so the user name and password will be blank. Just save it and again click on the left top corner of the app (< Settings) the drawer will reopen (Image 15).
On the top of the drawer it will show you the broker IP address and port the app is connected to (Image 16).
Now add the topic you wish to subscribe by clicking on Subscribe . Here we will be adding topic as /Folder_one (Image 17, Image 18).
After doing this, from the ubuntu system by using terminal we will publish to the topic. On publishing you should get the payload/message published on this mobile app. For example publishing payload as “ARM -Automation Robotics & Mechatronics ”. Command is as mentioned earlier.
mosquitto_pub -h 192.168.1.67 -t /Folder_one -m “ARM -Automation Robotics & Mechatronics ”
publishing from ubuntu system (Image 19).
Received published message on dashboard (Image 20).
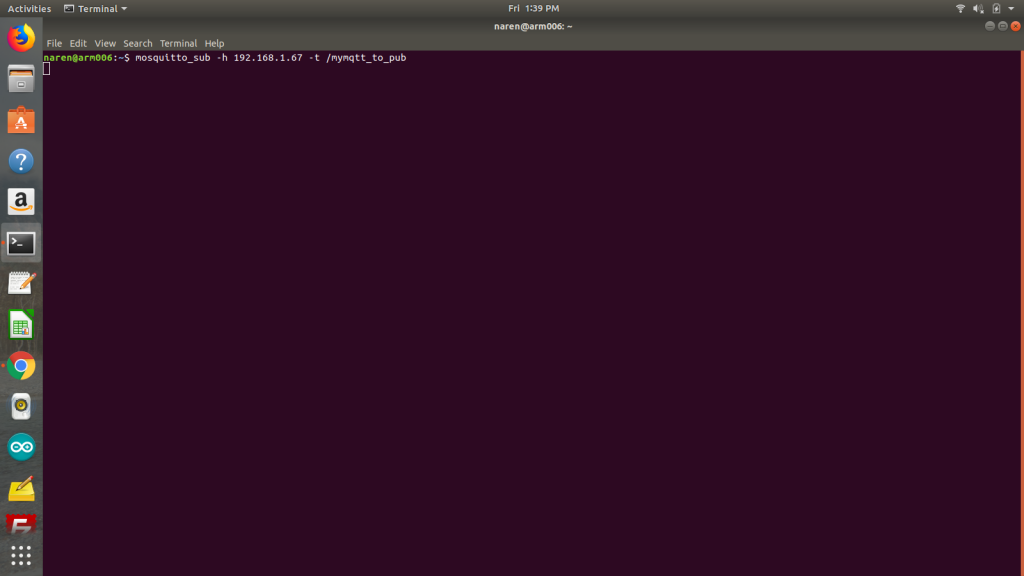
Now let us publish from android phone (My mqtt) and subscribe on ubuntu system. For this example we are using the topic “/mymqtt_to_pub”.
To do this first open a terminal from your ubuntu system and subscribe to the topic “/mymqtt_to_pub” using the following command (Image 21)
mosquitto_sub -h 192.168.1.67 -t /mymqtt_to_pub
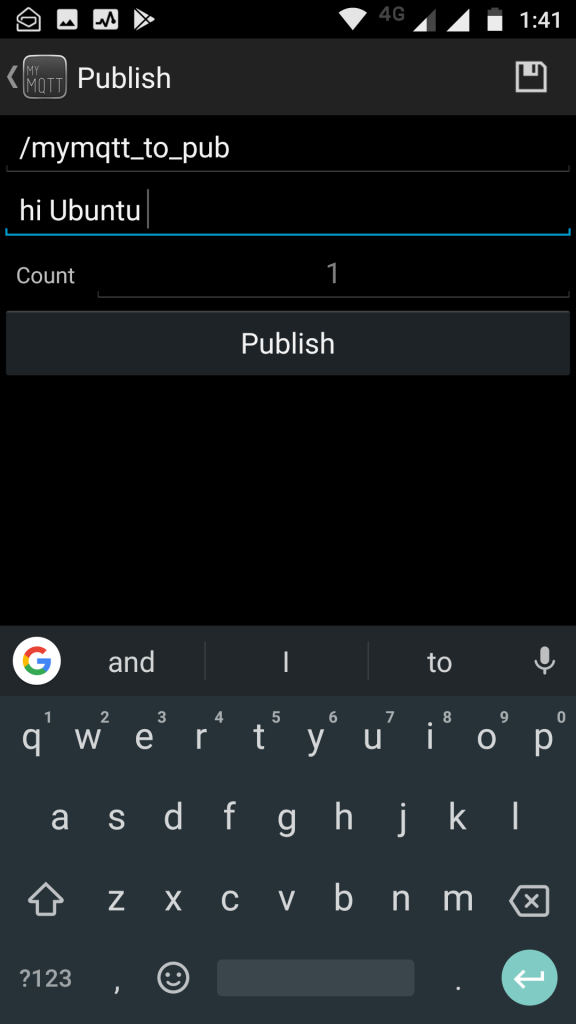
Now go to the drawer of the mymqtt app and click on publish. Add the publishing topic (In our case it is “/mymqtt_to_pub”) and send some message like we will send “hi Ubuntu”, press the send button (Image 22, Image 23).
The message should appear on your terminal window of ubuntu system (Image 24).
Note that both ubuntu system and the android phone should be on the same network or port 1883 should be exposed and you should know the IP address of your router/gateway for mqtt to work. If you wish to add authentication to your mqtt broker you can do it by following the below mentioned blog link https://medium.com/@eranda/setting-up-authenticat... Follow from this blog’s step two. We have enable authentication of our broker and will be using authenticated broker for our boards .
Step 3: Working With Armtronix Board & Mqtt


Currently for this instructable, we are using our Wifi Single Dimmer Board which uses Triac to chop the sine wave and in turn dims bulb or control the speed of the fan. Also we have connected it through mqtt authentication type.
Initially we have configured the board. Steps to configure it is as mentioned below.
Power On the board, it will starts hosting an Wifi Access Point.
Using a android phone or laptop connect to this AP (Image 25).
Once Connected to this AP type 192.168.4.1 by opening a browser (chrome/firefox) from the AP connected system/Phone. Make sure you are not using your data connection(3G/4G).
On typing the IP, a webpage will open where the follow has to be entered (Image 26).
- SSID: Wifi AP name.
- Password: SSID Password.
- IoT mode Mqtt or Http (Select Mqtt ).
- Mqtt Broker IP (In our case it is 192.168.1.67).
- Mqtt user name and password, as we are using authentication type, we have used Naren , xxxx
- Mqtt publish topic: This will be on which topic the board publishes too, we have used /testpub.
- Mqtt subscribe topic: This will be on which topic the board listens to for commands to trigger the triac, we have used /testsub.
- Device name: It is the name you call out to alexa for triggering the board, we have used corvi.
After entering the details, Press the submit button, on doing this you will get a screen as shown in the Image 27, wait for some time till the board stops hosting the AP.
Please note that we have connected our board via Uart to the serial monitor of Arduino IDE. So on the left hand side you will see the debug messages it prints via Uart (this is just for your reference).
Once this is done you can view the debug screen. Most of the details will be visible there. After this, it will successfully connect to the broker on the debug (serial) screen you can see this.
Connected to MQTT broker with authentication. Subscribed to topic 1.
After it prints this you can now start sending it commands via mqtt on the topic it has subscribed to i.e. /testsub/
For this board commands are:
- R13_ON : To turn on the triac to 100%.
- R13_OFF : To turn off the triac to 0%.
- Dimmer:xx : Where, xx is the dimming value and can be varied from 0 to 99.
- Reset : To clear configuration of the board.
- Status : Print the dimmer status of the board on the publishing topic of the board.
To send this command from a ubuntu based system where mqtt client is installed, just type it as show below . Two additional parameters are added here because of authentication — i.e -u which is the user name and -P is the password, please note that these are case sensitive .
mosquitto_pub -h 192.168.1.67 -u Naren -P xxxx -t /testsub -m R13_ON
mosquitto_pub -h 192.168.1.67 -u Naren -P xxxx -t /testsub -m R13_OFF
mosquitto_pub -h 192.168.1.67 -u Naren -P xxxx -t /testsub -m Dimmer:50
Note: 50 is the dimmer value
mosquitto_pub -h 192.168.1.67 -u Naren -P xxxx -t /testsub -m R13_ON
mosquitto_pub -h 192.168.1.67 -u Naren -P xxxx -t /testsub -m Status
For the latest status, the status gets printed on the publishing topic of the board which in our case is /testpub .On our board any change in the device is printed on the publishing topic of the board. For example, if we pass Dimmer:50 on the board subscribed topic than on physically executing this, the board will send a message stating the dimmed level on the publishing topic. Example is shown below,
To subscribe from your ubuntu system to the publishing topic of the board enter the following command
mosquitto_sub -h 192.168.1.67 -u Naren -P xxxx -t /testpub
message we get is
DimmerIS50
a few screen shorts of the same are below (Image 28, Image 29)


