

Introduction: DIY Smart Watering System


Hello, and welcome back to my channel! Today let's see how I built an irrigation system connected to my smart home, and thus remotely controllable with the app on my phone. I have been doing a small vegetable garden on the balcony for a few years now, and the plants need water. The problem is that watering by hand every day is quite boring, and a lot of water is consumed. So I built a drip irrigation system, to water the plants with the right amount of water automatically. To make it work, I used a simple irrigation controller for a few years, but it was very limited in the scheduling of irrigation times, and it worked on batteries, that often needed to be replaced. So I decided to abandon it and make a system to turn the water on and off with home automation. So I can control the watering remotely from the app, for example when I am on vacation, and choose every time how long to water. Also I can set times at which to water automatically, which is very important. In the next guides, this watering system will then be combined with soil moisture sensors, to adjust the amount of water even better. But now, let's get started!
To see more details about this project, check out the video on my channel (it has English subtitles).
Supplies


Making this project is quite easy, and requires only a few components:
- Solenoid valve
- Water pipes fittings, based on your irrigation setup
- Smart relay, in my case a Shelly Pro 1
- Momentary button
- Three-wire cable
- Electrical box
- Plug
- Wall anchors
Tools:
- Wrenches
- Teflon tape
- Drill
- Screwdrivers and generic hand tools
- 3D printer with filament (optional)
Step 1: Plant Watering System


Firstly, let's see the drip irrigation system to which the solenoid valve will be connected. To make the irrigation system, I put 16 mm pipe around the perimeter of the balcony. To make the bends and branches, I used elbows and three-way fittings. On the pipe are grafted smaller pipes that each go to a dripper, which is placed in the pot of a plant. The drippers allow you to adjust the amount of water that comes out based on how much each plant needs. I put in more drippers than there are plants, so the plants can be moved without having to change the irrigation system. This drip irrigation system has been working for several years now, and it is really convenient because it gives each plant the water it needs without waste. Now that we have seen the irrigation system we can automate it.
Step 2: Solenoid Valve


To open and close the irrigation water with home automation I will use a solenoid valve, which will be connected to a relay connected to WiFi. I searched the Internet a bit and found this normally closed brass solenoid valve that runs on 230v. A normally closed solenoid valve is like a faucet, opening when power is given and closing when power is removed. This type of solenoid valve has a great advantage for safety, because if the power fails during irrigation, the water is immediately shut off.
The solenoid valve has a power connector on the side. To connect the valve I will use a three-wire cable. When we open the connector we have three terminals to connect the ground, neutral and line wire of the cable. Once the connector is closed we can connect it to the valve.
To test the valve I temporarily connected it to the water hose I use for watering. If I turn the power to the solenoid valve on we see that the water opens, while if I turn it off the valve closes. So the valve works, and we can install it.
Step 3: Installing the Solenoid Valve


My plant watering system takes water from a faucet, that's inside a small tool shed. So a hose brings water from the faucet to the valve, that will be mounted outside to avoid flooding the shed in case of leaks. To take the water out, I used a hose for the washing machine water inlet. This I do not think is the best solution, so I recommend finding a more suitable hose.
I have put a filter before the solenoid valve, to prevent impurities from the water from going into the irrigation system and clogging it. The filter has a net inside to trap impurities, which can be cleaned by unscrewing the cap. The filter outlet is ¾" while the solenoid valve inlet is ½", so I used a fitting to connect them. To make all the joints, I put teflon tape on the thread of the adapter and screwed it on, tightening it well with a wrench.
I connected the hose to the filter inlet with a ¾" fitting. I connected the other end of the hose to the faucet with its gasket.
To connect the water output of the solenoid valve to the plastic irrigation pipes I used a flexible metal pipe.
Of course if everything worked right away it would have been too good, so I had various leaks, that I fixed by redoing the joints better.
I attached the solenoid valve to the wall with a 3D printed bracket and a wall anchor. The .stl file for the bracket is below. I'm also building a wooden cover to protect the solenoid valve from rain.
Water valve support
Attachments

Step 4: Connecting the Valve to the Smart Relay


Now we can control the solenoid valve by manually powering it, so it's pretty useless. So I need to connect the solenoid valve to home automation, so that I can open and close it remotely with the app on my phone. To do this I will use a Shelly smart relay, the Shelly Pro 1. Of course you can use also other brands of smart relays, but the settings may be different. However, most smart relays have terminals for 230v power supply, for the dry contact of the relay, and for an input from a button.
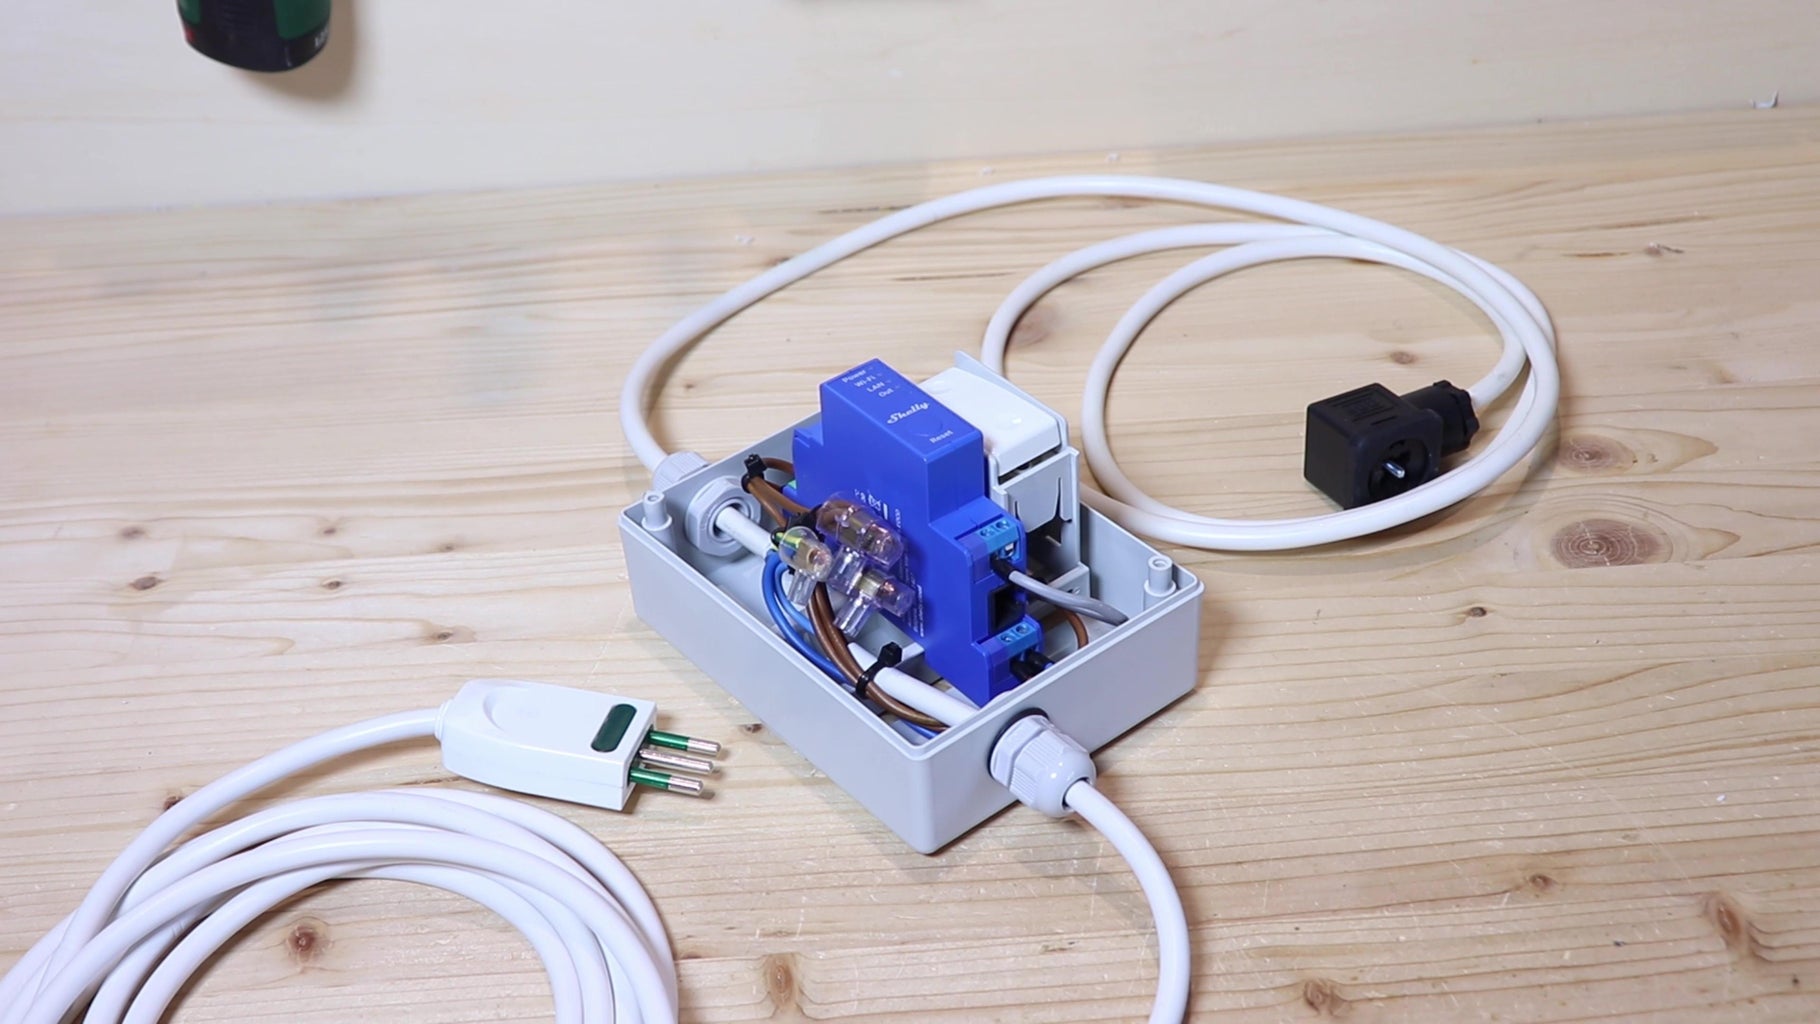
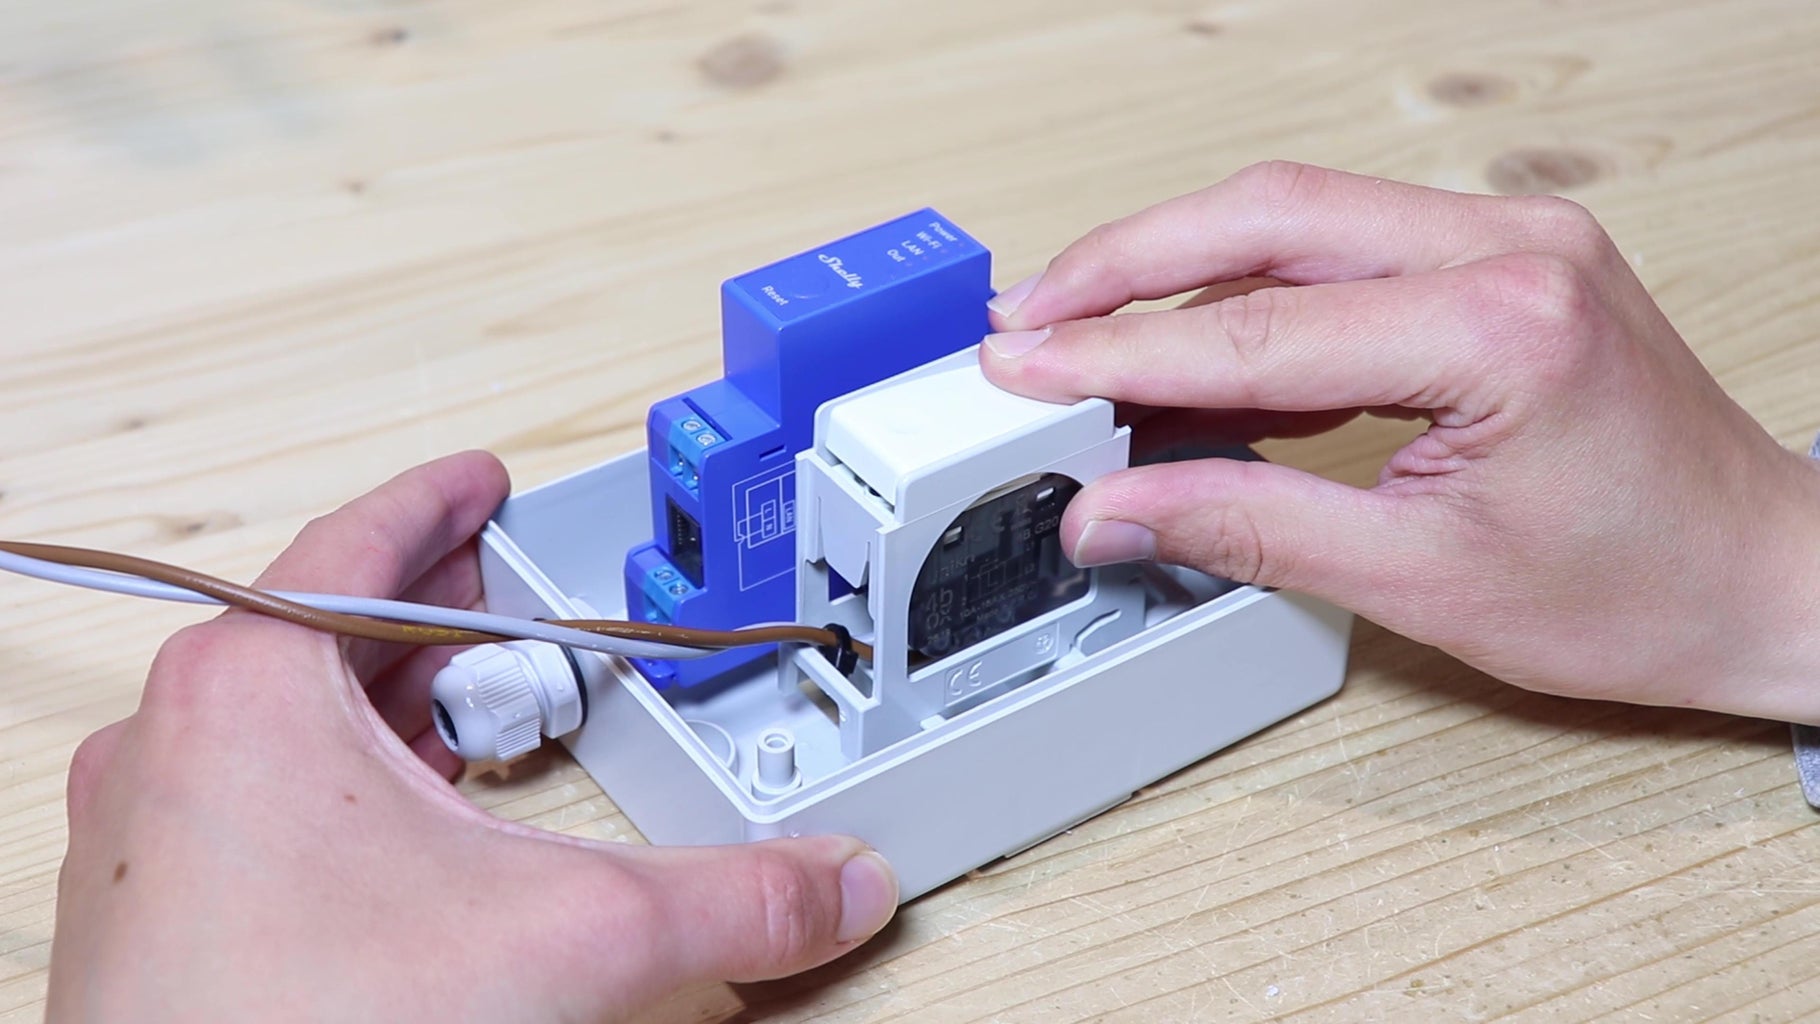
To mount the smart relay I will use a small electrical panel with a DIN rail. In the walls of the electrical panel I mounted two cable glands to run the power cable and the cable that will go to the solenoid valve. Then I mounted the smart relay on the DIN rail. Next to the Shelly I also put a switch to turn the irrigation on or off manually, mounted with a DIN rail adapter.
Then I connected two pieces of wire with ferrules on them to the two power terminals on the smart relay. Then I connected one of the two wires from the switch to the input of the Shelly relay. On the other side I connected the line of the solenoid valve to the output of the relay, and another wire to the input of the relay. I joined the neutral, line and ground wires together with clamps, and we finished the connections.
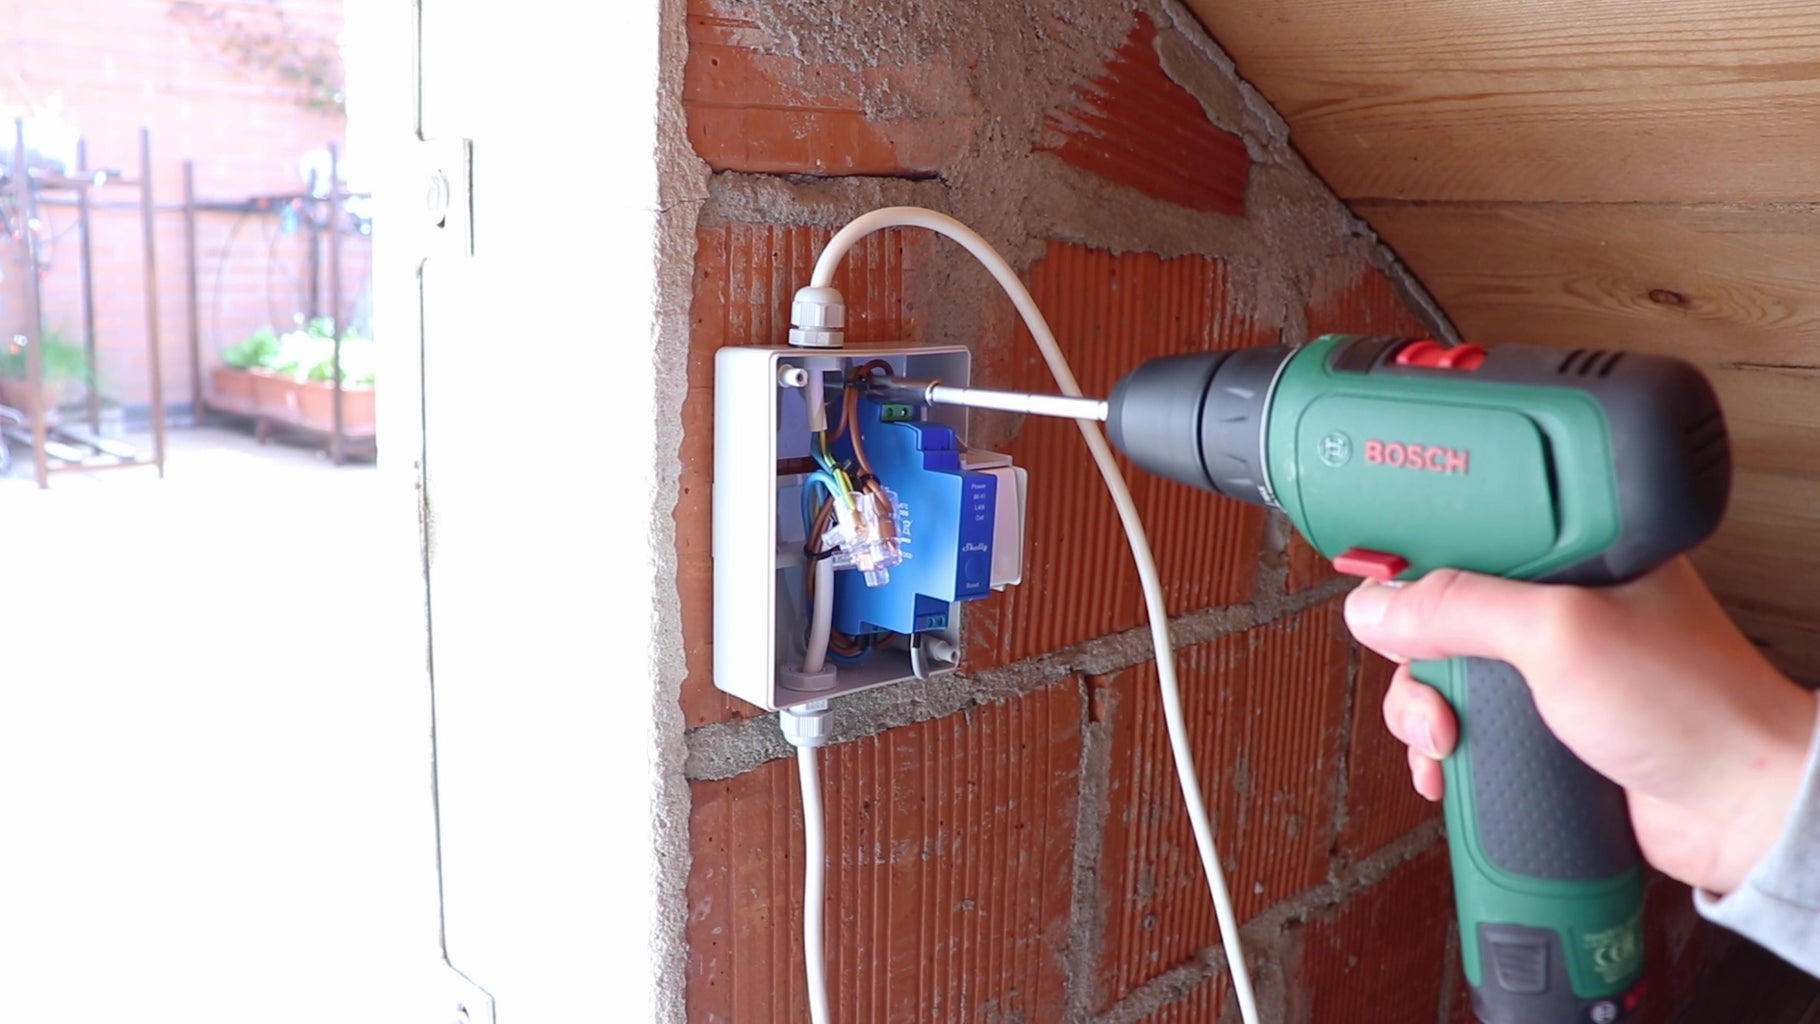
I fastened the board to the attic wall with two wall plugs. Then I mounted a conduit to carry the power cable to a nearby outlet. I connected the relay output cable to the solenoid valve, and closed the electrical panel with its cover. I plugged it in and configured the smart relay using the app on my phone, following the instruction sheet included in the box.
As always, I remind you that doing this electrical work can be very dangerous, both for us and because we can do damage to the electrical system, so always be very careful and do not work on live circuits. If you want to be safer, call an electrician, that will know how to do this job properly.
Step 5: Controlling the Valve From the App


Now that everything is set up we can turn the plant watering system on or off directly from the Shelly app, either locally or remotely, for example while we are on vacation. Also from the app we can set the times at which to water automatically, by clicking on the device's name and on Schedule.
I suggest to give your smart relay a fixed IP address, to improve connection stability. If you are using a Shelly relay, to do this open the app, choose your device and go into Networks, Wi-Fi 1 and Set static IP address.
Step 6: Controlling Plant Watering From Home Assistant


The Shelly app offers already many automation options, but I wanted to automate my watering system even more. So I connected it to Home Assistant, where I created a dedicated page to control the watering system.
The page has four buttons to turn on the irrigation for 1, 5, 10 or 15 minutes. To improve safety, instead of turning the Shelly relay on and off via the automation, i used the local URL, that once called turns off the relay after the desired time without needing for Home Assistant to be on. To configure this, I had to paste the code you'll find below in the configuration file of Home Assistant. I put and URL for every watering time that I needed:
rest_command:
  watering_1:
    url: "http://192.168.1.79/relay/0?turn=on&timer=60"
  watering_5:
    url: "http://192.168.1.79/relay/0?turn=on&timer=300"
  watering_10:
    url: "http://192.168.1.79/relay/0?turn=on&timer=600"
  watering_15:
    url: "http://192.168.1.79/relay/0?turn=on&timer=900"
The URL includes the local IP address of the Shelly relay and the time you want it to be on in seconds.
On the dashboard I also put an "enable" switch that locks the irrigation buttons when turned off, to avoid turning the watering system on by mistake. However there is also a "stop" button to turn the water off immediately. On the top of the dashboard there is an indicator that shows whether the relay is on or off. Below there is a timer, that shows how much time is left to complete the irrigation time that was chosen.
All of this runs with a few automations, that i show in the screenshots above.
Step 7: Future of This Project


In the next weeks I'm going to connect soil moisture sensors to this watering system. The goal for this project is to be able to automatically adjust the watering time every day based on the moisture of the soil, temperature and rain, measured by my weather station (). If this woks, I should be able to save water by giving to the plants only the water that's needed. However this is not easy and it needs a bit of coding, so I don't know if I'm going to be able to make it work correctly.
This system to control plant watering should work also for bigger watering systems, by increasing the size of the pipes and the valve.
I hope you like this guide and you found it useful. To see more details about this project, check out the video on my channel (it has English subtitles).


